The Brinell hardness test is a test method with the largest indentation among all hardness tests. It can reflect the comprehensive performance of the material, and is not affected by the micro-segregation and uneven composition of the sample structure, so it is a hardness test method with high precision.
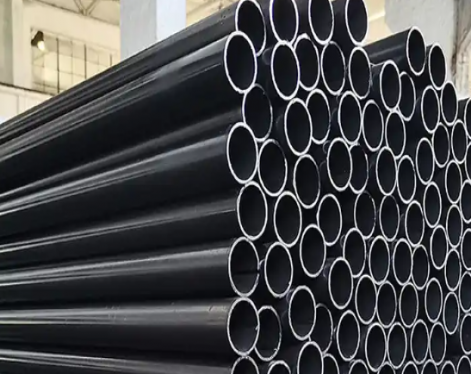
The data of Brinell hardness measurement is accurate and stable, and it is suitable for detecting unquenched seamless pipes (ASTM A53 GR.B), cast iron steel pipes, non-ferrous metals or light and soft bearing alloy steel pipes.
The principle of the Brinell hardness test method is to press a quenched steel ball or cemented carbide ball with a diameter of D (mm) into the surface of the test piece under the action of a specified load P (Kgf) and stay for a certain period of time to cause plastic deformation After stabilization, remove the load and measure the diameter d of the indentation formed on the metal surface to be tested. From this, calculate the indentation ball area F (mm2), and then calculate the average load per unit area of the indentation ( P/F), as the Brinell hardness value of the tested metal.
When the indenter is a hardened steel ball, the hardness symbol is indicated by HBS, which is suitable for metal materials with a hardness value of less than 450. When the indenter is a cemented carbide ball, the hardness symbol is indicated by HBW, which is suitable for the hardness value of 450-650. Metal material.
It can be seen from the above formula that when the applied load P and the ball diameter D have been selected, the hardness value is only related to the indentation diameter d. The larger the d, the lower the deformation resistance of the metal material to the indentation of the sphere, that is, the smaller the Brinell hardness value, the softer the material; conversely, the larger the d, the greater the Brinell hardness value, and the harder the material. In the actual test, the hardness value does not need to be calculated according to the above formula. Generally, the indentation diameter d is measured with a reading magnifying glass, and then the measured hardness value can be obtained by looking up the table according to the d value. It is customary to write only the value of the hardness value without marking the unit. For example, when the Brinell hardness value is 200 Kgf/mm2, it is generally written as 200HBS.
The advantage of the Brinell hardness test method is that the measured data is accurate and stable. The disadvantage is that the indentation is large, and the hardness of the finished product or thin-walled steel pipe is not suitable for testing. In addition, due to the slow operation, it is not applicable to a large number of steel pipe products that are inspected piece by piece.


